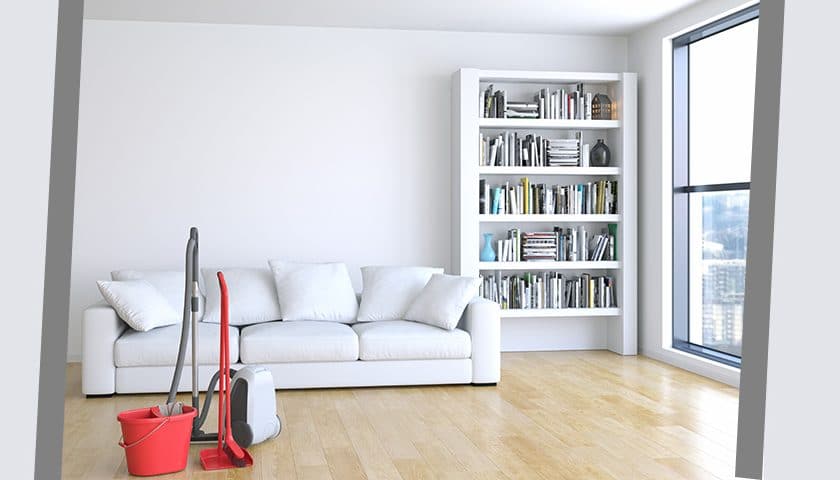
The living room is one of the most lived-in spaces in the house, next to the kitchen. It’s where you entertain as well as spend time with the family. It is also often the first room that greets shoes. The dirt in the living room is accumulated at an alarming rate, and yet because most of it is invisible, we don’t pay as much attention to it as we should be.
Good Housekeeping recommends that while surfaces can do with a dusting and a wipe once a week, things like fixtures and blinds require attention at least once a month. In our frenetic lives, that might seem like a lot.
So, when we haul our guilty selves around to dedicating those few hours to a spring clean let’s make it worth our while. Here are a few tips to get you started.
Getting started
The tools and steps we recommended for spring cleaning your bedroom apply here as well. For the living room, we also add extendable brushes and mops or, alternatively step ladders, to the list.
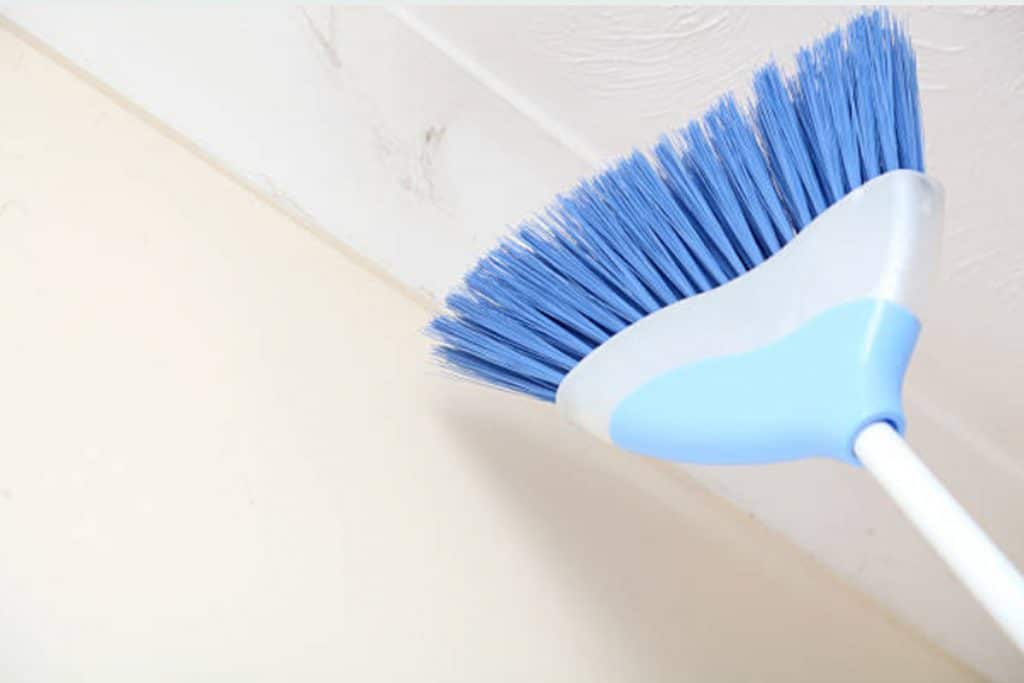
Walls and ceiling, top to bottom
First steps first. Go around the room and collect all the items that are strewn around, and put them into the clutter box for sorting later.
Tackle the walls and ceiling first. We dust furniture and even remember to dust table lamps but we always, always ignore the walls. They gather dust too, and there are often wispy cobwebs that cling to them in unseen spots.
Remove all the wall hangings along with wires coiled around the floor before getting started. Start with the ceiling. Dust motes that escape will float and settle on the surrounding walls and on the floor, which can be cleaned later.
Once the dusting is done get ready with a mild soap solution and a mop. Wring out all the excess water to avoid unnecessary drippage, and using the step ladder try and access all the corners of the room. Work your way down slowly to each of the walls and end with the skirting below. Pay extra attention to grooves and ridges in the wainscotting if you have any.
Last but not least, wall paints are sensitive so make sure to use the mildest of soaps and the gentlest of sponges to avoid peeling.
Dusting and disinfecting
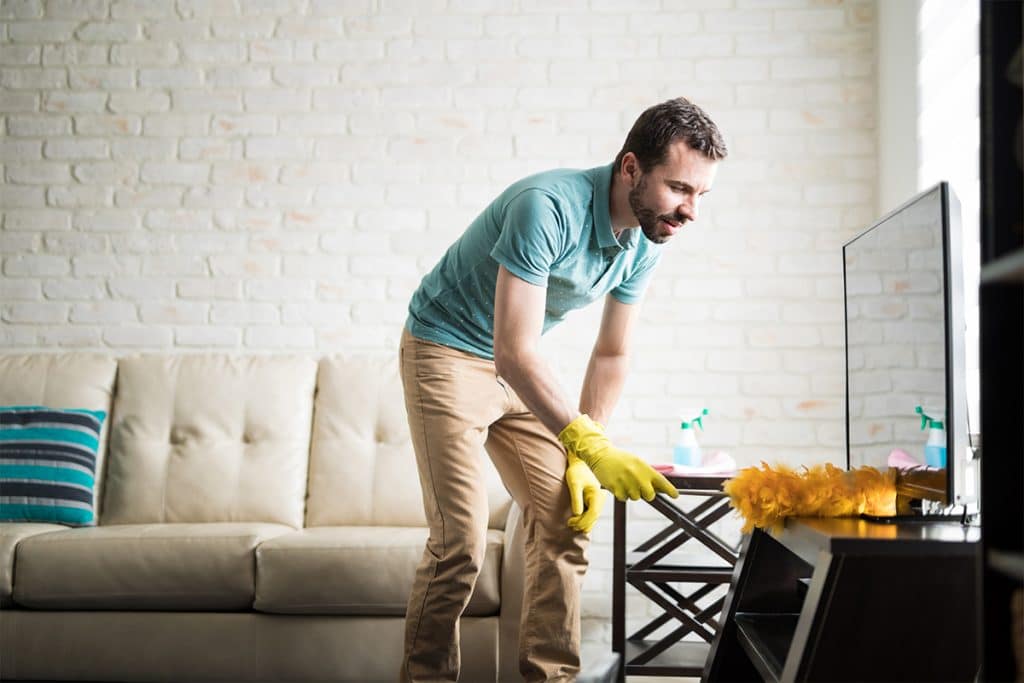
After walls and the ceiling, tackle items around the room. Light fixtures including the bulbs, curios, and photo frames should all go under the firm swipes of your microfibre cloth.
Dusting apart, this is also the time for disinfecting some oft-used items. Use a stronger cleaning mix, like a few drops of Dettol with warm water, to wipe down windows, glass surfaces like coffee tables, and mirrors.
Glass and mirrors are a veritable storehouse of fingerprints and food stains from countless pizza nights or family get-togethers. So are the multiple remote controls we use for television, audio systems, and air conditioners. Don’t forget gaming consoles too. The dirt on them may be invisible but they are surely there, and this is the time to make them sparkling from deep inside.
Polish and buff
Many times, a living room looks tired even after you have spent a solid couple of hours in cleaning and dusting. That can change with just a tin of polish.
Buff up wooden furniture with some varnish or mayonnaise. Yes, you heard it right. Mayonnaise can clear up marks on the wood if you apply and leave it on overnight. Simply rub it into the area in the morning and wipe it off. It works perfectly!
Similarly, work through wood and leather using appropriate polishes and your living room will sparkle in no time!
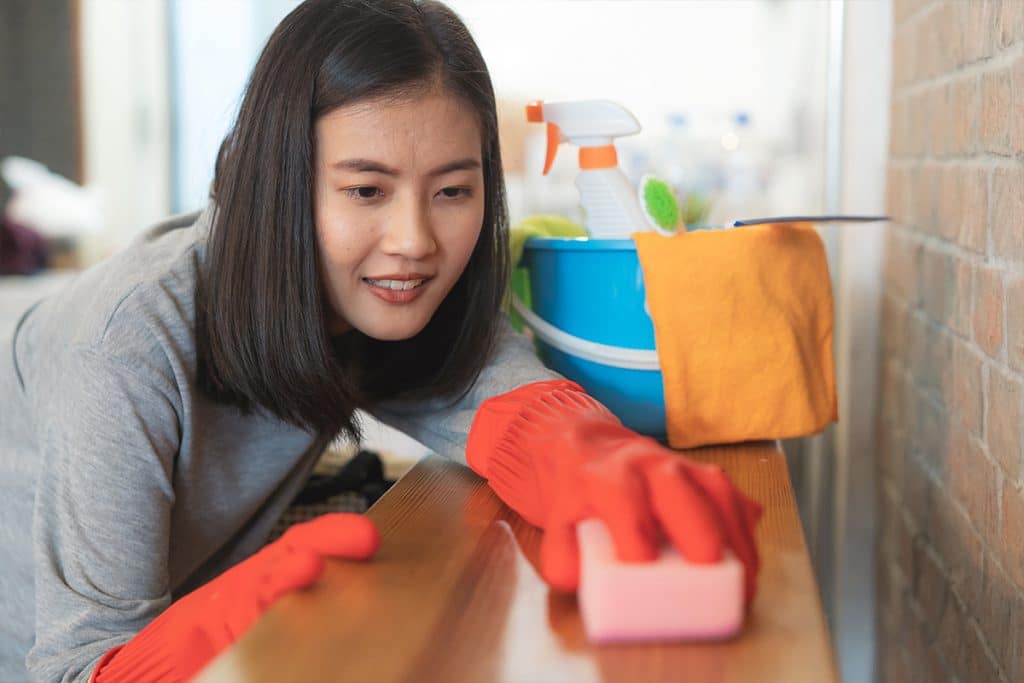
Stains and spots
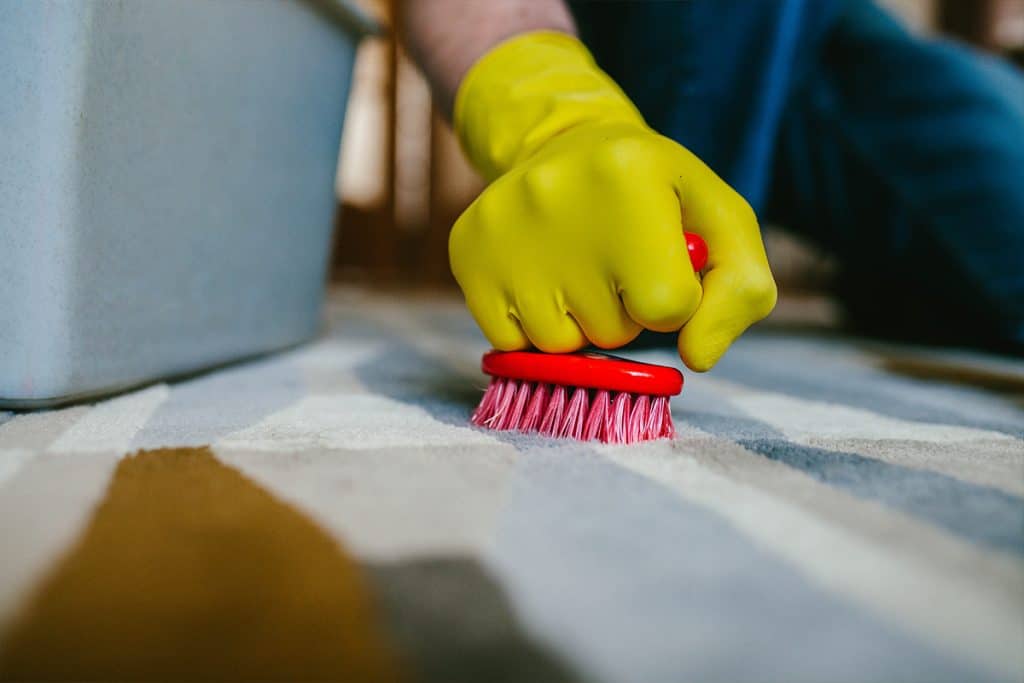
If you have carpets and rugs, this is the time to dust them out. Baking soda comes to the rescue again for making a carpet look and smell fresh. A mixture of mild detergent, baking soda, and some salt is ideal for brushing away loose fibre and debris.
If there are stains or spots, you could also try adding a little vinegar to warm water. Spray this mix on the spot, lay a cloth on it, and iron over it. Make sure not to over-scrub the rug or carpet as it might affect the fibres.
For the washing machine
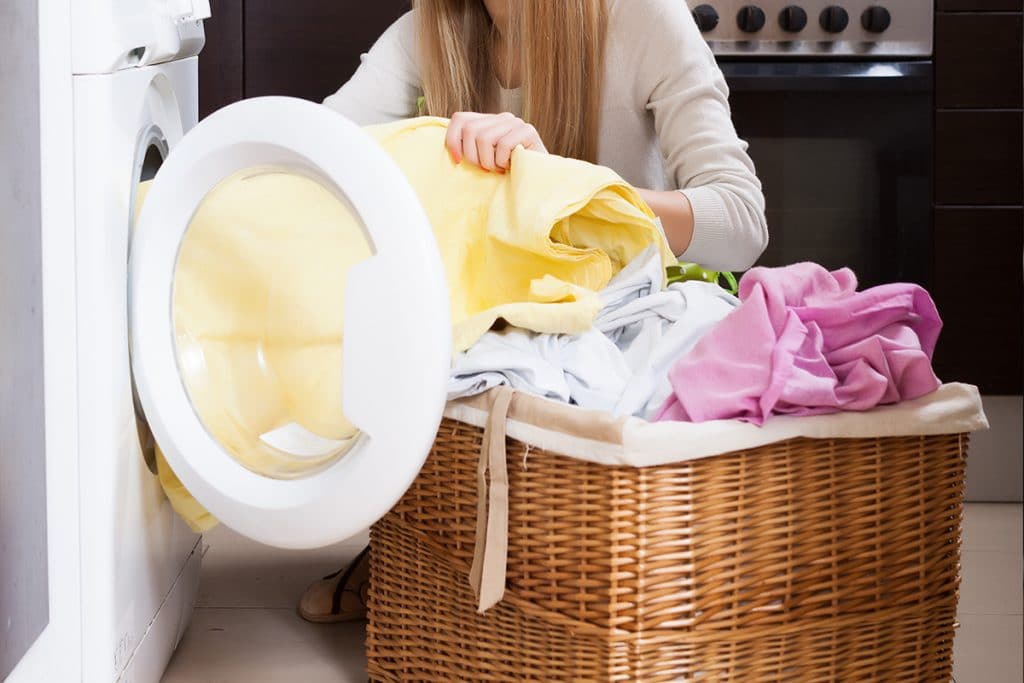
The last step would be to strip your couches and chairs of their covers and give them a thorough cleaning as well.
Throws are ubiquitous in many houses and are used often while watching a movie or even as a makeshift blanket for extra guests who happen to sleep over. But it’s not often that they go through a wash. Don’t forget the little pillows that you stack up on the couch too. Take care to read the wash care instructions, though.
But what if your sofa is a single fixed piece whose cushions are not removable? Take it apart as much as you can, and vacuum and dust all the crevices possible. It’s amazing to see how much and what can accumulate in the recesses of your sofa! Get a cleaning solution that’s appropriate for the material on the sofa, and wipe down every inch. Never soak or put too much water. Making it mildly damp is enough, and once it dries your sofa or couch will be good as new!
Read More:
